Thursday, October 16, 2014

31 Days of Halloween 2014 - Day 16

Welcome to the Haunted House Tours. This is your brochure for the houses we will visit today.   For your safety, please keep arms and legs in the bus.


cover page stamp: Recollecions "Haunted House"
paper: Recollections "Haunted Estate"
punches: Marvy corner and Fiskars

Wednesday, October 15, 2014

31 Days of Halloween 2014 - Day 15


It's this time of year when Humphrey (the dragon) comes in handy.  I can send him out to the pumpkin fields and he will light them up.  At first, we had some issues with the command "light them up".  Humphrey heard the command as "bonfire in pumpkin patch". The volunteer fire department were able to save the house but the field was toast. 

Now that Humphrey has improved pyro control we can let him loose with the command "light them up".

Does anyone know what to do with a dragon for the rest of the year?  He's handy for winter fires ~ the ones in the fireplace, but he's pricey to feed and house.


dragon stamp: Dustin Pike "Fly Dragon"
sentiment stamp: Inkadinkadoo
border punch: EK Success
pumpkins: K&Company
background paper: created with Smooch Spritz (can't tell you what colour ~ i just used the ones that would spritz and not splot on the page)

Tuesday, October 14, 2014

31 Days of Halloween 2014 - Day 14

It's just one of those days when you are crafting outside, enjoying the last of the fall colours when a frog lands on your project, dies, and then dissolves into a skeleton.  I mean what are you supposed to do but "keep calm and craft on"?


Stamp: De-stempelwinkel "frog skeleton"
Paper: K&Company "brenda walton BW haunted specialty"
Distress ink: Tim Holtz "peeled paint", Adirondack "meadow" and "lettuce"
Stamp ink: Versafine: "vintage sepia"
Circles: end of a straw pressed on stamp pad and then on tag
Jewel brad: American Crafts Elements

Monday, October 13, 2014

31 Days of Halloween 2014 - Day 13

Spider alert:  If you are at all bothered by the "eight legged",  now is the time to turn away, run screaming, hide under the bed, or whatever is normal for your phobia.

Charolotte in all her glittery glory is here to show off the door wreath that features her.  She will soon be hanging on the front door - hopefully scaring away the construction workers who have been digging up our street for way toooooooo long!!


Charlotte: black rubber spider from Michael's dressed up with glitter glue at her joints and back.
 
Charger plate: Michael's clearance
Black roses: re-used from last year's lollipop centrepeice
Purple peonies: new purchase from Michael's
Baby spiders: orange canvas circles stamped with black spider
Sentiment:


Sunday, October 12, 2014

31 Days of Halloween 2014 - Day 12

 This vamp brat is bugging you for blood. What are you going to do?  I know ~ blood suckers!  He gets his blood and you get about 10 minutes of peace and quiet.  Win! Win!


Stamps: Your Next Stamp
Paper: Recollections "Haunted Manor"
Colour: pencil crayons 


Saturday, October 11, 2014

31 Days of Halloween 2014 - Day 11

Eek, it's a vampire bat. You can see that this guy has been spending a lot of time at the tattoo shop.  Maybe his plan is to hypnotize his prey with his beautiful markings and then BAM!


stamp: Stampendous "bat doodle"
rhinestone brad: My Mind's Eye "lush"
ink: Adirondack "red pepper" and Tim Holtz "barn door"

Friday, October 10, 2014

31 Days of Halloween 2014 - Day 10

Just a simple card, no explanations sorry.  Hopefully will be back in the game tomorrow.


Thursday, October 09, 2014

31 Days of Halloween 2014 - Day 9

Spider warning!
Mom, have Dad look at the card first.

Sorry, just the card pictures today.  I am not feeling well, if you would like the card details just ask.


Wednesday, October 08, 2014

31 Days of Halloween 2014 - Day 8


This project is something I've wanted to try for awhile.  The images are stamped on tissue paper and then melted to the candle with a heat gun.


The lesson I learned while completing this project is that not all candles are a solid colour. Some candles have one outer layer of colour and the inner core is all white.  This came as a shock when the candle started melting.
 
 A word of caution: the heat gun gets REALLY hot so watch your fingers, toes, table surface and general work area !!


Tuesday, October 07, 2014

31 Days of Halloween 2014 - Day 7

Skellie is worried about the artificial tan the cosmetic salesperson has applied with a trowel to her face.  It really doesn't match her natural skin tone.  Who has a "pumpkin" skin tone anyway?  The salesperson must be working on commission because Skellie was "convinced" to buy 2 cases of this artificial tan product.


She's decided not to worry about her face so she can enjoy her evening out.  She puts on her favourite dancing outfit: striped dress, striped stockings, wicked witch dancing boots and her good luck hat.


She's a dancing fool looking for a fun night in the local cemetery. (check out those swinging legs)


stamp: Dilly Beans stamp "Worried skellie"
image colour: copics and distress ink
hat: Paper Goods collage sheet "Hallows Eve"
legs: K&Company "BW Haunted" chipboard
swirl corners: Recollections "Haunted" acetate frames
green paper: BoBunny kiwi stripe
orange print paper: Halloween pad (can't remember which one)

Monday, October 06, 2014

31 Days of Halloween 2014 - Day 6

The bat image was stamped directly on the background paper so it looks like someone was doodling on the newspaper.


The ribbon is two layers glued together; black grosgrain ribbon on the bottom with ruler marked ribbon on top.


bat stamp: Tim Holtz Collection "Halloween Blueprint"
patterned paper: My Mind's Eye "Haunted"


Sunday, October 05, 2014

31 Days of Halloween 2014 - Day 5

This cauldron is brewing up something, but even the bats won't try it.  Oh no, Karen's in the kitchen trying to cook up dinner before her roomie gets home from work.


Stamp: Northwoods Rubber Stamps, Inc.
Paper: BoBunny "Fright Delight"
Dew drops: The Robin's Nest "Lily pad"
Glitter: 3 colours - black, green and crystal

Saturday, October 04, 2014

31 Days of Halloween 2014 - Day 4

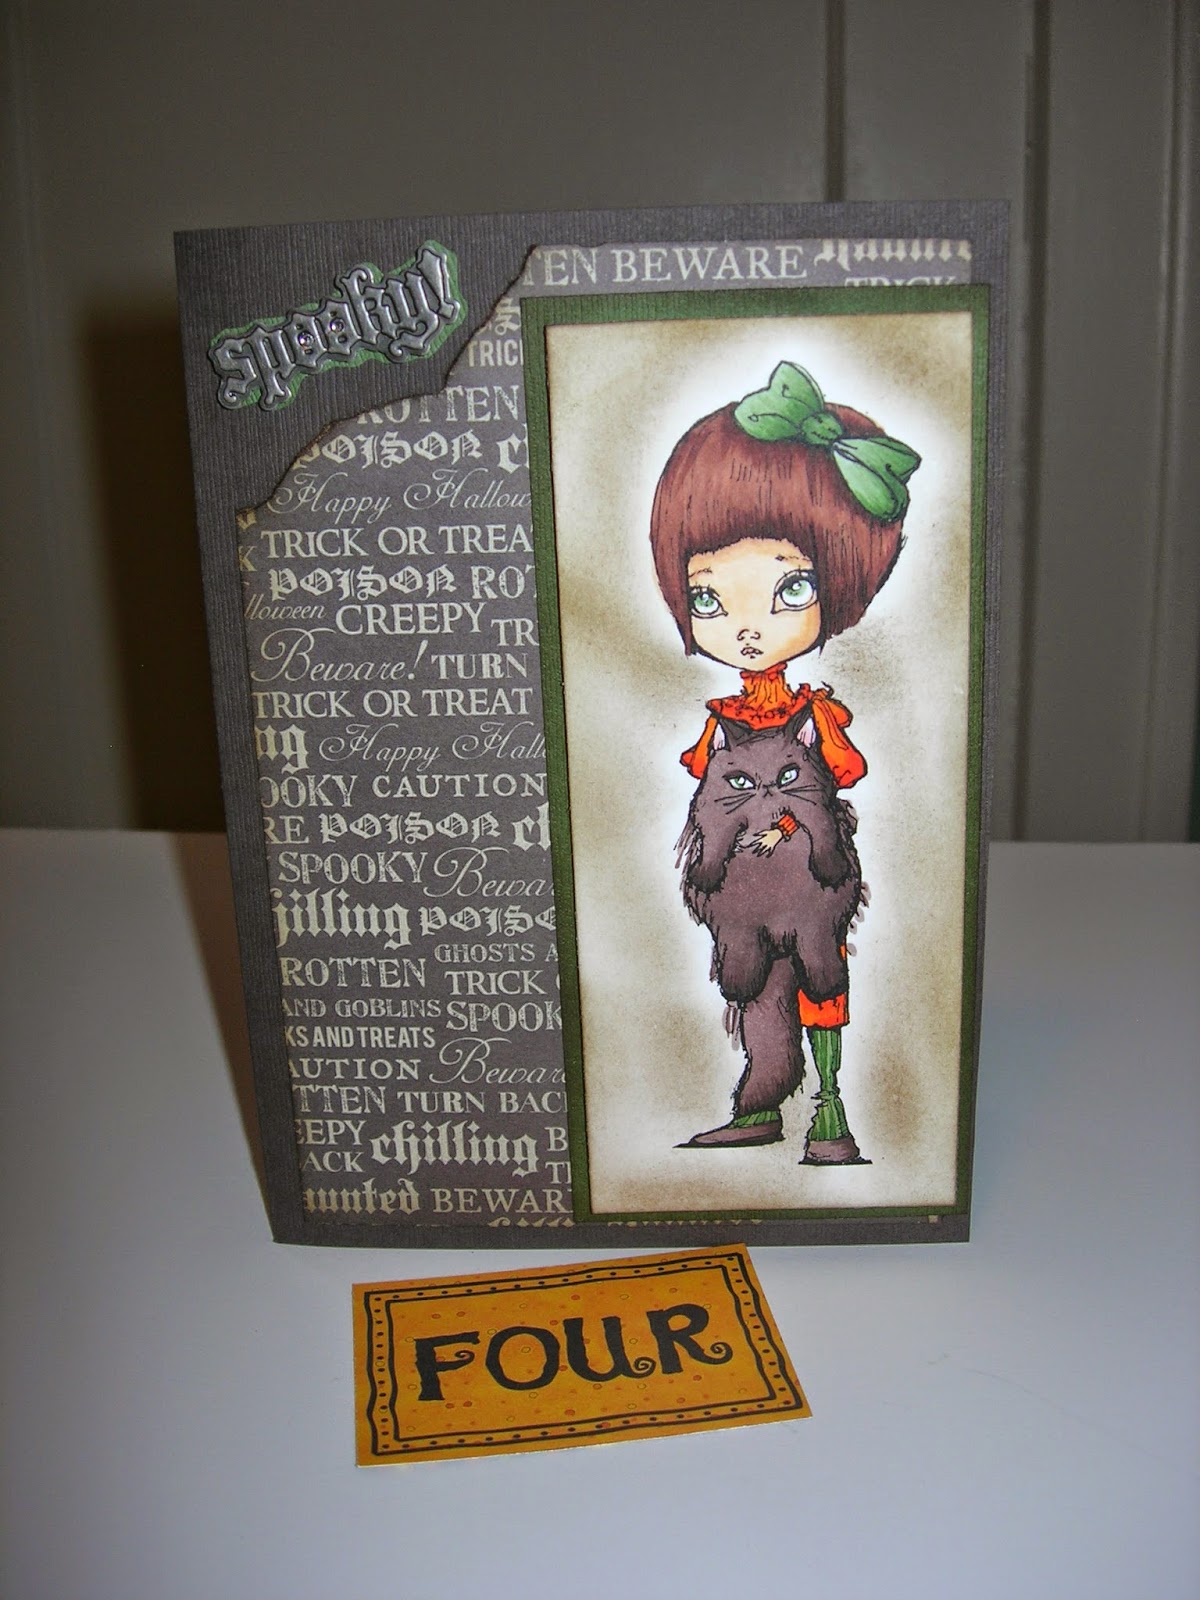
Special Bulletin: Three graves in the local cemetary have been dug up and the remains removed.  A suspect is now being questioned about this horrific case of skellie theft.

Who do you think is telling the truth here?  My money's on the cat Magnus, you know he's taking the blame for this spooky girl.

I loved this image right away - she looks creepy to me and I don't know why.  What do you think?


I printed the digital stamp on Neenah paper and coloured the image with copic markers. There was a lot of white space so I tried (and it worked) to create shading with distress ink.

 
There is a bit of dimension here with the image and the spooky embellishment popped up (technical term).
 

digital stamp: Stamp Loft (Etsy)
image colour: copics
shading: distress ink
paper: Recollections "Haunted Manor"

Friday, October 03, 2014

31 Days of Halloween 2014 - Day 3

This card took awhile to be completed. First it was going to look "this way" and then "that way", but it came together in the end.

The image was stamped on canvas and then the edges were unravelled.  The fabric gives the image a softer look which was an unexpected surprise.

Do you know what happens when you take a picture with your finger over the flash?  (see photo below)  Yep, it turns out red but doesn't it look cool?


stamp: Smeared Ink rubber stamp set     "Morte" by Rick St.Dennis
canvas: Recollections scrapbook paper (single sheet)
button: Recollections wood buttons "Haunted"
paper: K&Company "BW Haunted"


Thursday, October 02, 2014

31 Days of Halloween 2014 - Day 2


A simple card for you today.  The embossed skull and orange spiderweb paper echo the main background paper.

I believe the stamp is from Inkadinkadoo but I am not sure.


Wednesday, October 01, 2014

31 Days of Halloween 2014 - Day 1

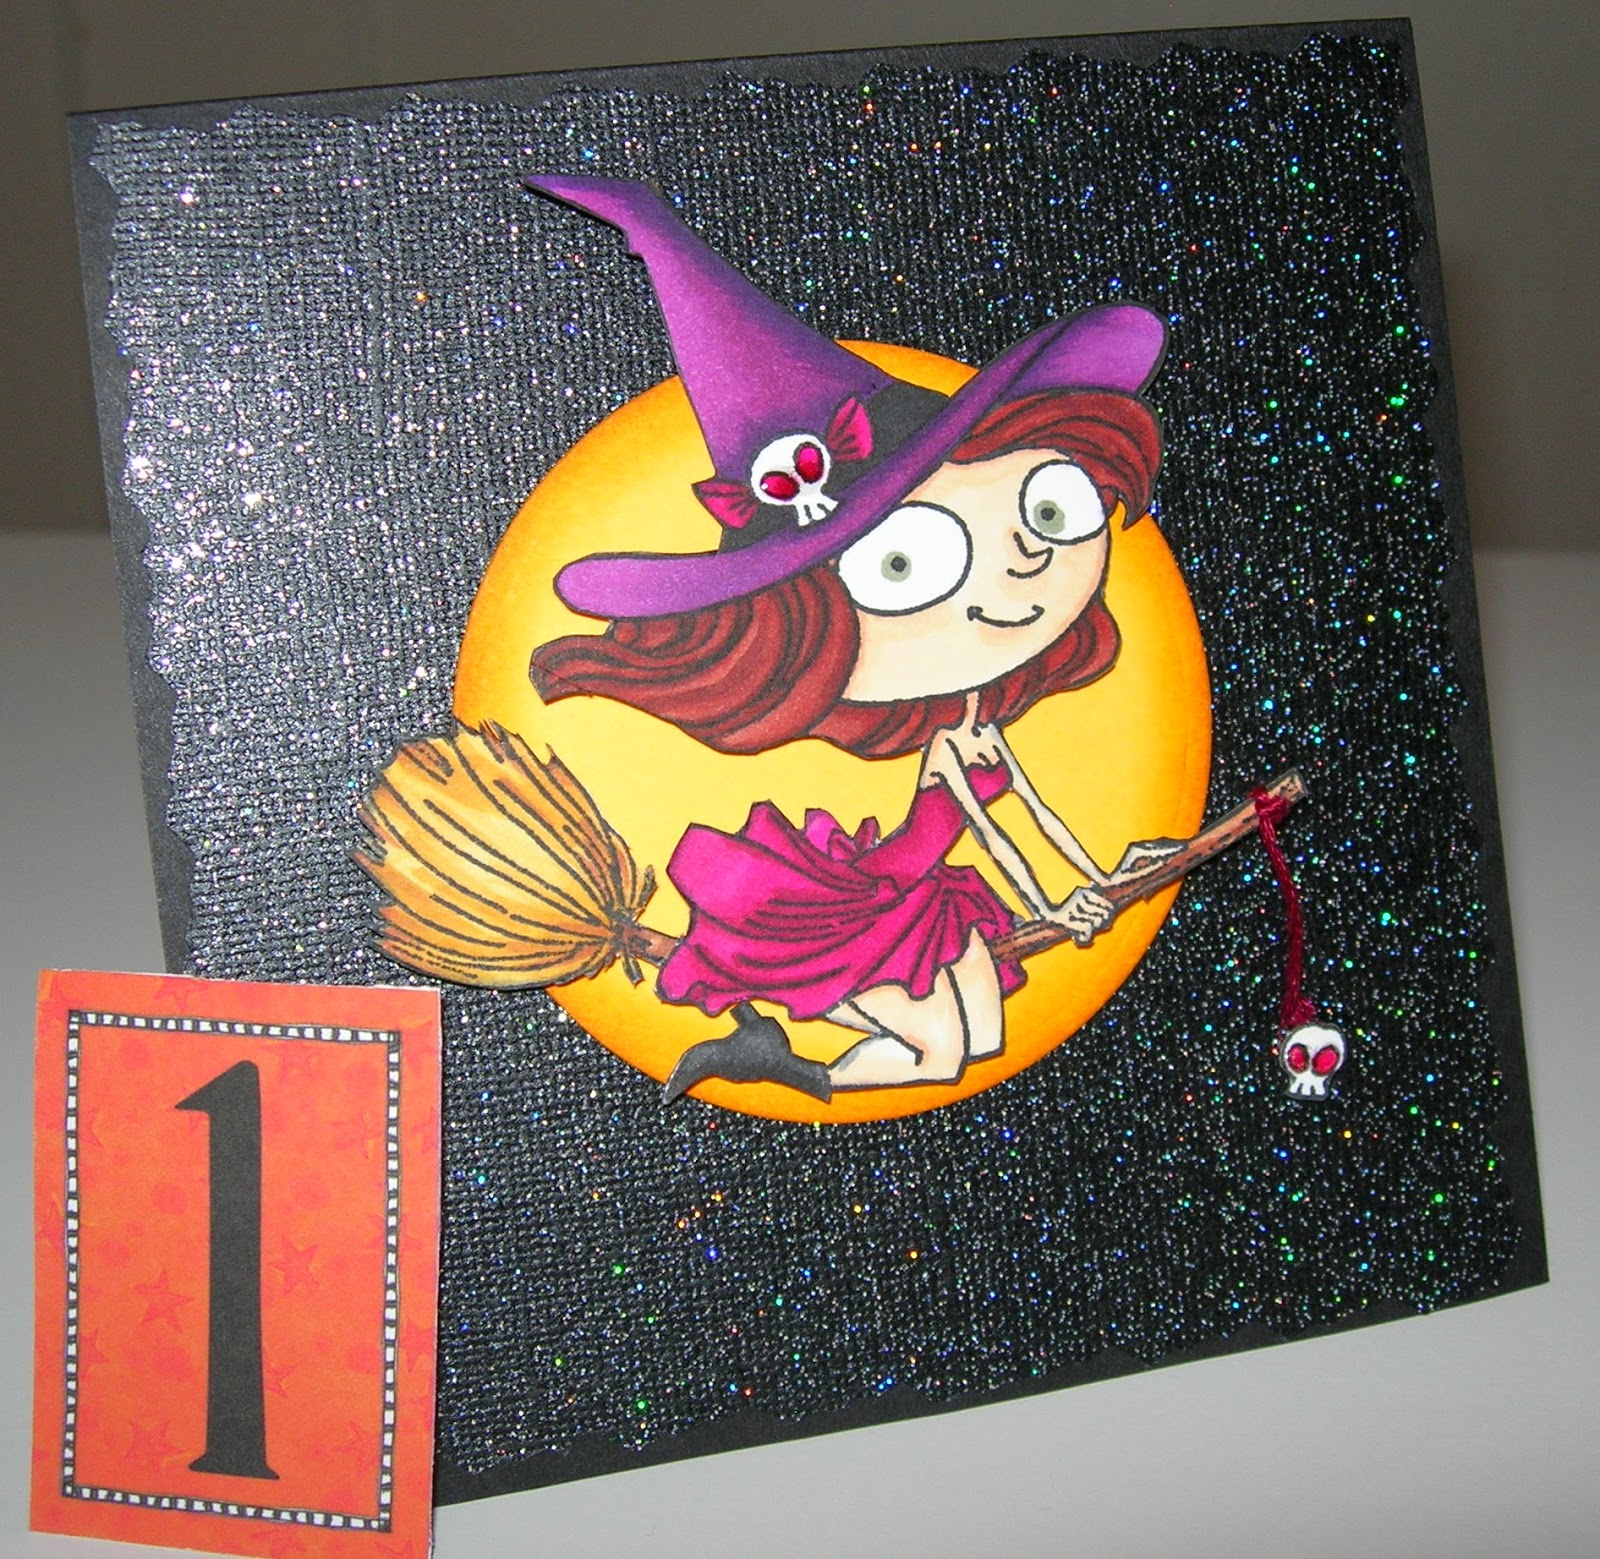
Day 1 and the craziness begins.


Witch Hazel is taking her new broom out for a spin to ensure there are no nasty bristles poking up her ...
stamp: "Witchypoo" from Kraftin' Kimmie Stamps

Thursday, October 31, 2013

Pumpkin People 2013

This is an annual event which has grown to epic proportions. Some background is required to understand the significance of this day (the last Saturday before Halloween). Each year Wayne would set out his pumpkin people bodies while his girls were at school. It was a wonderful tradition that might have ended in 1998 when Wayne passed away in his sleep.


The next year, family, friends and neighbours helped Barb and her daughters Beth and Stephanie put up the pumpkin people in honour of Wayne and their family.

Since then the annual event has grown in size and scope with friends showing up to carve, eat some treats and socialize.

Saturday morning's weather could be described as unpredictable with strong winds, rain and then SNOW!  Barb said Wayne must be looking down on us from heaven saying "You can do it, you can do it".  By lunch the weather had settled into a damp and cool day which did not spoil the fun.


The pumpkin bodies are staked to the ground and the kids (young and young at heart) carve a pumpkin head to go on a particular body.  About 4 years ago, Stephanie's class added a new pumpkin body (hockey player) and set it up in the front yard while the house was asleep. This year my roommate, sister and I added a new pumpkin body, the dog dressed like a unicorn. The gently used unicorn suit was purchased from Valu Village. No, we did not sneak up the street at 2am to set him up.


Barb signals that she is safe on the roof and the pumpkin head is secure. Thank goodness for home owners insurance.


The food table included some new additions this year, a disgusting meat head (prosciotto draped over a skull) and a cheese mold brain (with gelatin so it jiggles).  It took a while before someone dared to scoop out some brain but it went quickly after that.


Yummy treats are devoured after the pumpkins are carved.  The hot chocolate and hot apple cider were appreciated on this cool day.


The end result is a wonderful display at the house which catches the eye of passers by, some cars drive around the block twice to get another look.  This year's display was featured in the local newspaper.
 

31 Days of Halloween 2013 - Day 31

Thanks to all the bloggers and hoppers for a wonderful October.  The comments, product and technique suggestions are greatly appreciated. Here is my last project for 31 Days of Halloween 2013. 

Caution: I have been told that I am a sick puppy so if you would like to keep moving on, I will not be offended.

Note: The electric chair is not functional and no idiots were fried at any time.

Here is the ultimate time out chair when you've been really bad. 


El Diablo knows who should be punished, he's pointing you them out. 


 Now just have a seat, put the skull cap on and we'll strap you in for the ride of your life. (okay, the ride to end your life but let's not dwell on that)


In just a moment we'll flip the switch and wait until we hit Crispy, you might get a little warm but that's nothing compared to the temperature of your final destination. 


 We've cooked 12 so far and Friday should be 13th. 


Thanks and Love to Dad who helped execute the build portion of this project and came up with the temperature gauge and name "El Diablo". 
 
The armless chair was found at Valu Village and adapted with leftover Ikea bed frame slats for arms and supports.  The back rest is from a new piece of particle board stuff cut with slits for the chest straps.  The chest restraint is an old luggage strap hidden behind the particle board and threaded through the slits.
 
At this point the chair consisted of three different wood/fake wood materials so a base coat of black craft paint was applied.  Burnt umber was applied thinly over the black to achieve a fake wood look so it wouldn't appear flat.


The Devil digital stamp from Delicious Doodles was printed on Kraft paper, highlighted with white pencil crayon, red marker and spritzed with Smooch colour.  Thanks to my roomie for test colouring with every medium that we have in the house to determine the best choice.
 
The skull cap is made from paper mache, thanks to my sister for the loan of her small metal mixing bowl. Two coats of gesso were applied and then painted with assorted brown craft paints.
The electrical (again, not live) gear was assembled from assorted scraps and a plumbing hose from the restore.
 
The arm and leg restraints are men's belts purchased at thrift store, cut to size, screwed onto chair.  To make the new holes I used the large eyelet maker, a lot of hammering and noise but it did work.
 
The temperature gauge that my Dad had drawn was traced onto white paper, glued to cardstock and cut to fit inside the plastic packaging of a Spellbinders die set.  A brad secures the clock hand in place, a flame stencil was coloured with chalks directly over the temperature readings and a skull was glued to the raised plastic cover over the Crispy reading.  
 
The control panel lights were found at the Habitat for Humanity restore.  The green lights are as found and the red lights are the result of alcohol inked clear bulbs.  The switch and clips for the hot seat were found at a surplus store.  The switch can be raised into an upright position (90 degrees) but cannot reach full charge.
 
Now, if I can just add wheels to the legs......